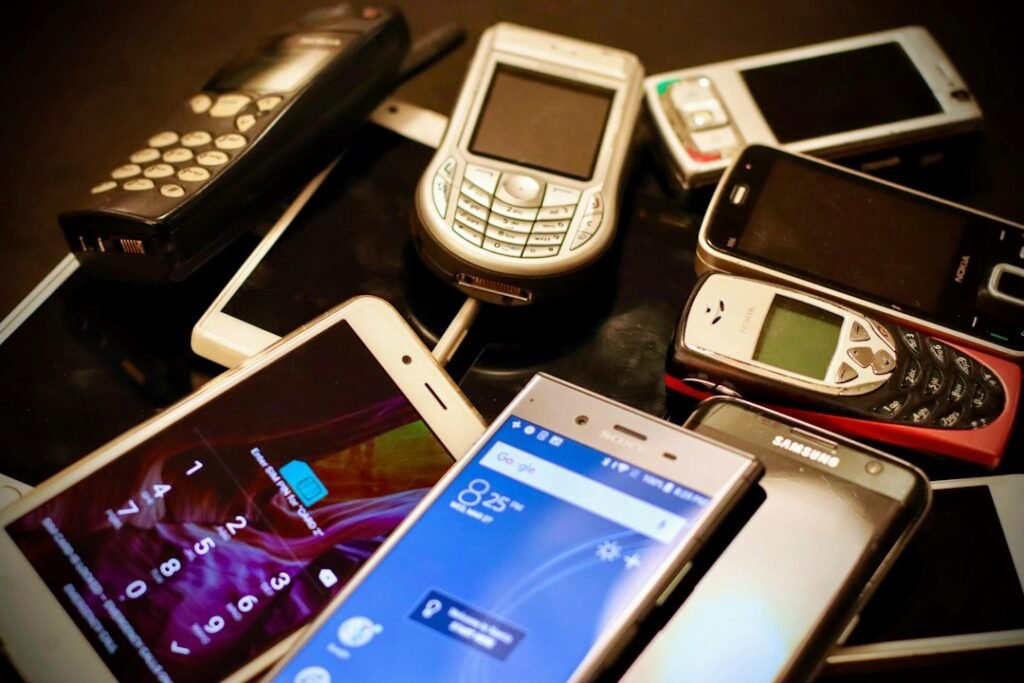
The global smartphone market faced its toughest Q3 in a decade during 2026, with reports confirming a significant downturn. While giants like Apple and Samsung managed to outpace their rivals, many consumers are holding onto their devices longer amidst economic uncertainties and a slower upgrade cycle. For Indian Android users, this period presents a unique opportunity: to truly master and optimize the smartphones they already own.
Instead of chasing the latest flagship, you can unlock incredible potential, extend your device’s lifespan, and significantly enhance your daily digital experience, all without spending a single rupee. This comprehensive guide for 2026 will walk you through free, built-in Android features and trusted utilities to transform your device into a powerhouse of efficiency, security, and longevity.
- The global smartphone market experienced its worst Q3 in 10 years in 2026, making device optimization more crucial than ever.
- Learn to significantly extend your Android’s battery life using built-in Adaptive Battery and Dark Mode features.
- Boost your productivity and digital wellbeing by mastering tools like Focus Mode and Notification Channels.
- Enhance your device’s security, privacy, and performance through smart storage management and permission controls.
- Discover how to automate tasks and personalize your Android experience for a truly tailored and efficient smartphone in 2026.
Tip 1: Master Battery Optimization for 2026
In 2026, as device upgrade cycles lengthen, getting the most out of your smartphone’s battery is paramount. Modern Android versions come packed with intelligent features designed to optimize power consumption, ensuring your device lasts longer throughout your busy day. Understanding and utilizing these built-in tools can dramatically improve your mobile experience, especially during long commutes or power outages.
The core of Android’s battery intelligence lies in its “Adaptive Battery” feature. This system learns your app usage patterns over time, prioritizing power for the apps you use most and restricting it for those you rarely open. Coupled with “App Standby Optimization,” which limits background activity for unused applications, your phone intelligently conserves energy. Furthermore, embracing “Dark Mode” across your system and compatible apps can lead to significant battery savings on devices with AMOLED displays, as black pixels consume less power.
How to Enable and Utilize:
- Adaptive Battery & App Standby:
- Navigate to your phone’s Settings.
- Tap on Battery.
- Look for Adaptive Battery (or similar, depending on your Android version and OEM skin) and ensure it’s toggled On.
- Within the Battery settings, you might also find options for App battery usage or Optimise battery usage where you can review and adjust individual app settings.
- Dark Mode:
- Go to Settings.
- Select Display.
- Toggle Dark theme or Dark Mode On. You can often schedule it to activate automatically at sunset or a custom time.
- Limit Background App Refresh:
- For specific apps consuming too much power, go to Settings > Apps > select the app > Battery.
- Choose a restrictive option like Optimized or Restricted for background activity.
Tip 2: Supercharge Your Productivity with Digital Wellbeing
In the connected world of 2026, our smartphones are double-edged swords – powerful tools for productivity, yet constant sources of distraction. Google’s Digital Wellbeing suite is your personal assistant for striking the right balance, helping you focus, unwind, and maintain a healthier relationship with your device. It’s an invaluable, free tool for Indian users looking to reclaim their time and mental space amidst the digital noise.
Digital Wellbeing offers several powerful features. “Focus Mode” allows you to pause selected distracting apps with a single tap, silencing their notifications and preventing you from opening them. “Wind Down” (or Bedtime Mode) helps you prepare for sleep by gradually fading your screen to grayscale and muting notifications. “App Timers” let you set daily limits for individual apps, prompting you to take a break once your allocated time is up. Together, these tools empower you to be more intentional about your phone usage and boost your real-world productivity.
How to Enable and Utilize:
- Access Digital Wellbeing:
- Go to Settings.
- Scroll down and tap on Digital Wellbeing & parental controls.
- Set Up Focus Mode:
- Inside Digital Wellbeing, tap on Focus Mode.
- Select the apps you find most distracting (e.g., social media, games).
- You can manually turn Focus Mode On or Off, or set a schedule for it to activate automatically during work hours.
- Configure Wind Down (Bedtime Mode):
- From Digital Wellbeing, tap on Bedtime Mode (or Wind Down).
- Set your desired bedtime schedule.
- Customize options like Grayscale (turns screen black and white), Do Not Disturb, and Dark theme activation.
- Implement App Timers:
- In the main Digital Wellbeing dashboard, you’ll see a graph of your app usage.
- Tap on any app, then select App timer to set a daily usage limit. The app icon will be grayed out once the limit is reached.
Tip 3: Enhance Your Android’s Security & Privacy in 2026
With increasing digital transactions and personal data stored on our devices, security and privacy are paramount concerns for Indian users in 2026. Fortunately, Android offers robust, built-in features that empower you to protect your sensitive information and control who accesses what. Leveraging these tools is a fundamental step towards a safer and more private smartphone experience.
The “Permission Manager” is your control center for app permissions, allowing you to review and revoke access to sensitive data like your location, camera, or microphone on a per-app basis. “Private DNS” encrypts your DNS queries, making your browsing more secure and private, especially on public Wi-Fi networks. “Google Play Protect” continuously scans your apps for malware and unwanted software, offering a vital layer of defense. Combined with strong biometric authentication (fingerprint, face unlock) and a robust screen lock, these features form a comprehensive security posture.
How to Enable and Utilize:
- Permission Manager:
- Go to Settings.
- Tap on Privacy (or Privacy & security).
- Select Permission manager.
- Review permissions like Location, Camera, Microphone, Contacts, etc. Tap on each to see which apps have access and revoke permissions for those that don’t genuinely need them.
- Private DNS:
- Navigate to Settings.
- Tap on Network & internet > Private DNS.
- Select Private DNS provider hostname and enter a privacy-focused DNS like
dns.googleorcloudflare-dns.com. This encrypts your DNS requests.
- Google Play Protect:
- Open the Play Store app.
- Tap on your profile icon (top-right).
- Select Play Protect.
- Ensure Scan apps with Play Protect is enabled. You can also manually scan your device from here.
- Biometric Security & Screen Lock:
- Go to Settings > Security (or Security & privacy).
- Set up a strong screen lock (PIN, pattern, or password).
- Configure Fingerprint Unlock and/or Face Unlock for quick and secure access.
Tip 4: Declutter & Optimize Storage for Peak Performance
A sluggish smartphone is often a consequence of low internal storage. In 2026, as apps grow larger and we capture more high-resolution photos and videos, managing your Android’s storage efficiently is key to maintaining peak performance. Fortunately, Android offers excellent built-in tools and a trusted Google utility to keep your device clutter-free and fast, without needing to buy extra storage.
Google’s “Files by Google” app is a comprehensive solution, not just a file manager, but a smart cleaner. It identifies junk files, duplicate images, large downloads, and rarely used apps, offering intelligent suggestions for freeing up space. Alongside this, Android’s “Smart Storage” feature can automatically remove backed-up photos and videos from your device after a certain period, ensuring your precious memories are safe in the cloud while not hogging local storage. Regularly reviewing and managing your downloads and app caches also plays a crucial role.
How to Enable and Utilize:
- Files by Google App:
- If not pre-installed, download Files by Google from the Play Store. It’s a free, trusted utility.
- Open the app and navigate to the Clean tab.
- Follow the suggestions to delete junk files, duplicate photos, large files, and unused apps. The app clearly explains what it’s deleting.
- Smart Storage (for backed-up photos/videos):
- Go to Settings.
- Tap on Storage.
- Look for Smart Storage (or Free up space) and enable it. This feature often works in conjunction with Google Photos backup.
- You can also manually Free up space from this menu, which will often direct you to the Files by Google app or a similar built-in cleaner.
- Clear App Cache:
- For individual apps, go to Settings > Apps > select the app.
- Tap on Storage & cache.
- Select Clear cache to remove temporary data without deleting user data. Do this periodically for frequently used apps.
Tip 5: Personalize & Automate Your Android Experience
Your Android smartphone in 2026 is more than just a communication device; it’s a highly customizable personal assistant. By leveraging built-in automation features, you can make your phone proactively adapt to your routine, saving you time and effort. This level of personalization transforms your device from a mere gadget into an intuitive extension of your daily life, perfectly suited for the dynamic environment of Indian users.
Many Android devices, especially those from Samsung (with Bixby Routines) and Pixel phones (with Rules), offer powerful “Routines” or “Rules” functionality. These allow you to set up “If This, Then That” scenarios. For example, “If I connect to my office Wi-Fi, then set my phone to vibrate mode and open my calendar app.” For broader automation, the free tier of “IFTTT” (If This Then That) extends these capabilities to integrate with various web services and smart home devices. These tools empower you to automate mundane tasks, ensuring your phone is always optimized for your current context.
How to Enable and Utilize:
- Android Routines/Rules (OEM-specific):
- For Samsung users (Bixby Routines):
- Go to Settings > Modes and Routines.
- Tap on Routines, then the + icon to create a new routine.
- Define your If condition (e.g., “At a place” for home/office, “When an event starts” for calendar, “When Wi-Fi is connected”).
- Define your Then action (e.g., “Change sound mode to vibrate,” “Open an app,” “Set screen brightness”).
- For Pixel users (Rules):
- Go to Settings > System > Rules.
- Tap Add rule and set your conditions (e.g., “When connected to a specific Wi-Fi network,” “When entering a location”).
- Set your actions (e.g., “Set phone to silent,” “Turn on Do Not Disturb”).
- For Samsung users (Bixby Routines):
- IFTTT (If This Then That – Free Tier):
- Download the IFTTT app from the Play Store and create a free account.
- Browse existing “Applets” or create your own.
- Connect services (e.g., Twitter, Gmail, Weather, smart home devices) and define triggers and actions across them (e.g., “If I post a photo to Instagram, then save it to Google Drive”).
Tip 6: Optimize Notifications for Uninterrupted Focus
Notification overload is a genuine problem in 2026, constantly pulling our attention and breaking our concentration. Uncontrolled notifications can severely impact productivity and mental well-being. Android, however, provides granular control over how and when apps can alert you, allowing you to curate your notification experience for maximum focus and minimal disturbance, which is particularly useful in busy Indian households and workplaces.
The “Notification Channels” feature (introduced in Android Oreo) is a game-changer. It allows apps to categorize their notifications (e.g., “promotions,” “conversations,” “account alerts”), and you can individually control the priority, sound, and vibration for each category. “Conversation Settings” takes this further, letting you prioritize specific chats from messaging apps. Combined with the powerful “Do Not Disturb” mode, you can ensure only the most critical alerts reach you when you need uninterrupted time.
How to Enable and Utilize:
- Notification Channels:
- Go to Settings > Apps (or Apps & notifications).
- Select an app (e.g., WhatsApp, Gmail).
- Tap on Notifications.
- Here, you’ll see various categories (channels) of notifications. Tap on each channel to customize its settings: turn it off completely, change its importance (e.g., silent, default, urgent), or modify its sound and vibration.
- Conversation Settings:
- When you receive a notification from a messaging app, long-press on it.
- You’ll often see options like Prioritize, Silent, or Block. You can mark important conversations as “Priority” to ensure they always break through Do Not Disturb, or “Silent” for less important ones.
- Do Not Disturb (DND) Mode:
- Access DND from your quick settings panel (swipe down from the top of your screen).
- Long-press the DND icon to go to its settings.
- Set schedules for DND (e.g., during work hours or bedtime).
- Customize exceptions for calls and messages (e.g., allow calls from “Starred contacts” or “Repeat callers”).
Tip 7: Harness Google Assistant’s Full Power
Google Assistant in 2026 is far more than just a voice-activated search engine; it’s an intelligent personal helper deeply integrated into your Android device. For Indian users, its ability to understand diverse accents and respond in multiple languages (including Hindi and other regional languages) makes it incredibly versatile. Leveraging its full potential can streamline daily tasks, provide instant information, and even control your smart home devices, all with simple commands or taps.
Beyond asking basic questions, Google Assistant can execute complex “Routines” (similar to the automation discussed in Tip 5, but triggered by voice or time). It can read the context of your screen, offer relevant information, manage your calendar, set reminders, and even find your misplaced phone. With “Voice Match,” it recognizes your voice, providing personalized results and ensuring security for sensitive actions. It’s an accessible and powerful tool for hands-free productivity and information retrieval.
How to Enable and Utilize:
- Activate Google Assistant:
- Long-press the home button or say “Hey Google” (ensure Voice Match is set up in Assistant settings).
- If not already set up, follow the on-screen prompts.
- Create Assistant Routines:
- Open Google Assistant (long-press home or “Hey Google”).
- Tap on your profile icon (top-right) > Settings > Routines.
- Explore pre-made routines (e.g., “Good Morning,” “Bedtime”) or create custom ones.
- Define a trigger (voice command, time) and a series of actions (e.g., “Tell me the weather,” “Play my news briefing,” “Turn on lights”).
- Use Screen Context:
- While on any screen (e.g., reading an article, looking at a restaurant menu), activate Google Assistant.
- Say “What’s on my screen?” or “Scan my screen.” Assistant will analyze the content and offer relevant information, such as restaurant reviews or definitions of words.
- Manage Tasks & Reminders:
- Say “Hey Google, remind me to buy groceries at 7 PM” or “Hey Google, add ‘call mom’ to my to-do list.”
- You can also ask it to set alarms, timers, or calendar events.
Tip 8: Secure Your Data with Cloud Backup & Device Finders
Losing your phone or having it damaged can be a nightmare, especially in 2026 where our digital lives are so intertwined with our devices. The fear of losing precious photos, contacts, and app data is real. Thankfully, Android provides robust, free solutions for cloud backup and device tracking, ensuring your data is safe and your device can be located if misplaced or stolen. These features are essential for every Indian smartphone user.
Google One offers a free tier that includes automatic backup of your Android device’s app data, call history, device settings, and SMS messages to your Google Account. Coupled with Google Photos’ free storage for compressed images and videos, most of your critical
Content is intended for informational purposes only. Prices and product details may vary — please verify before making any purchase decisions.
© 2026 NexifyLabs — All rights reserved.